Authorization Patterns
Almost all systems follow a similar pattern when it comes to authorization. In this post, I’ll highlight how authorization systems generally work, and how those stages can be applied to Laravel. Learning this structure tends to make using other systems easier, and it’s a great way to understand how authorization works in general.
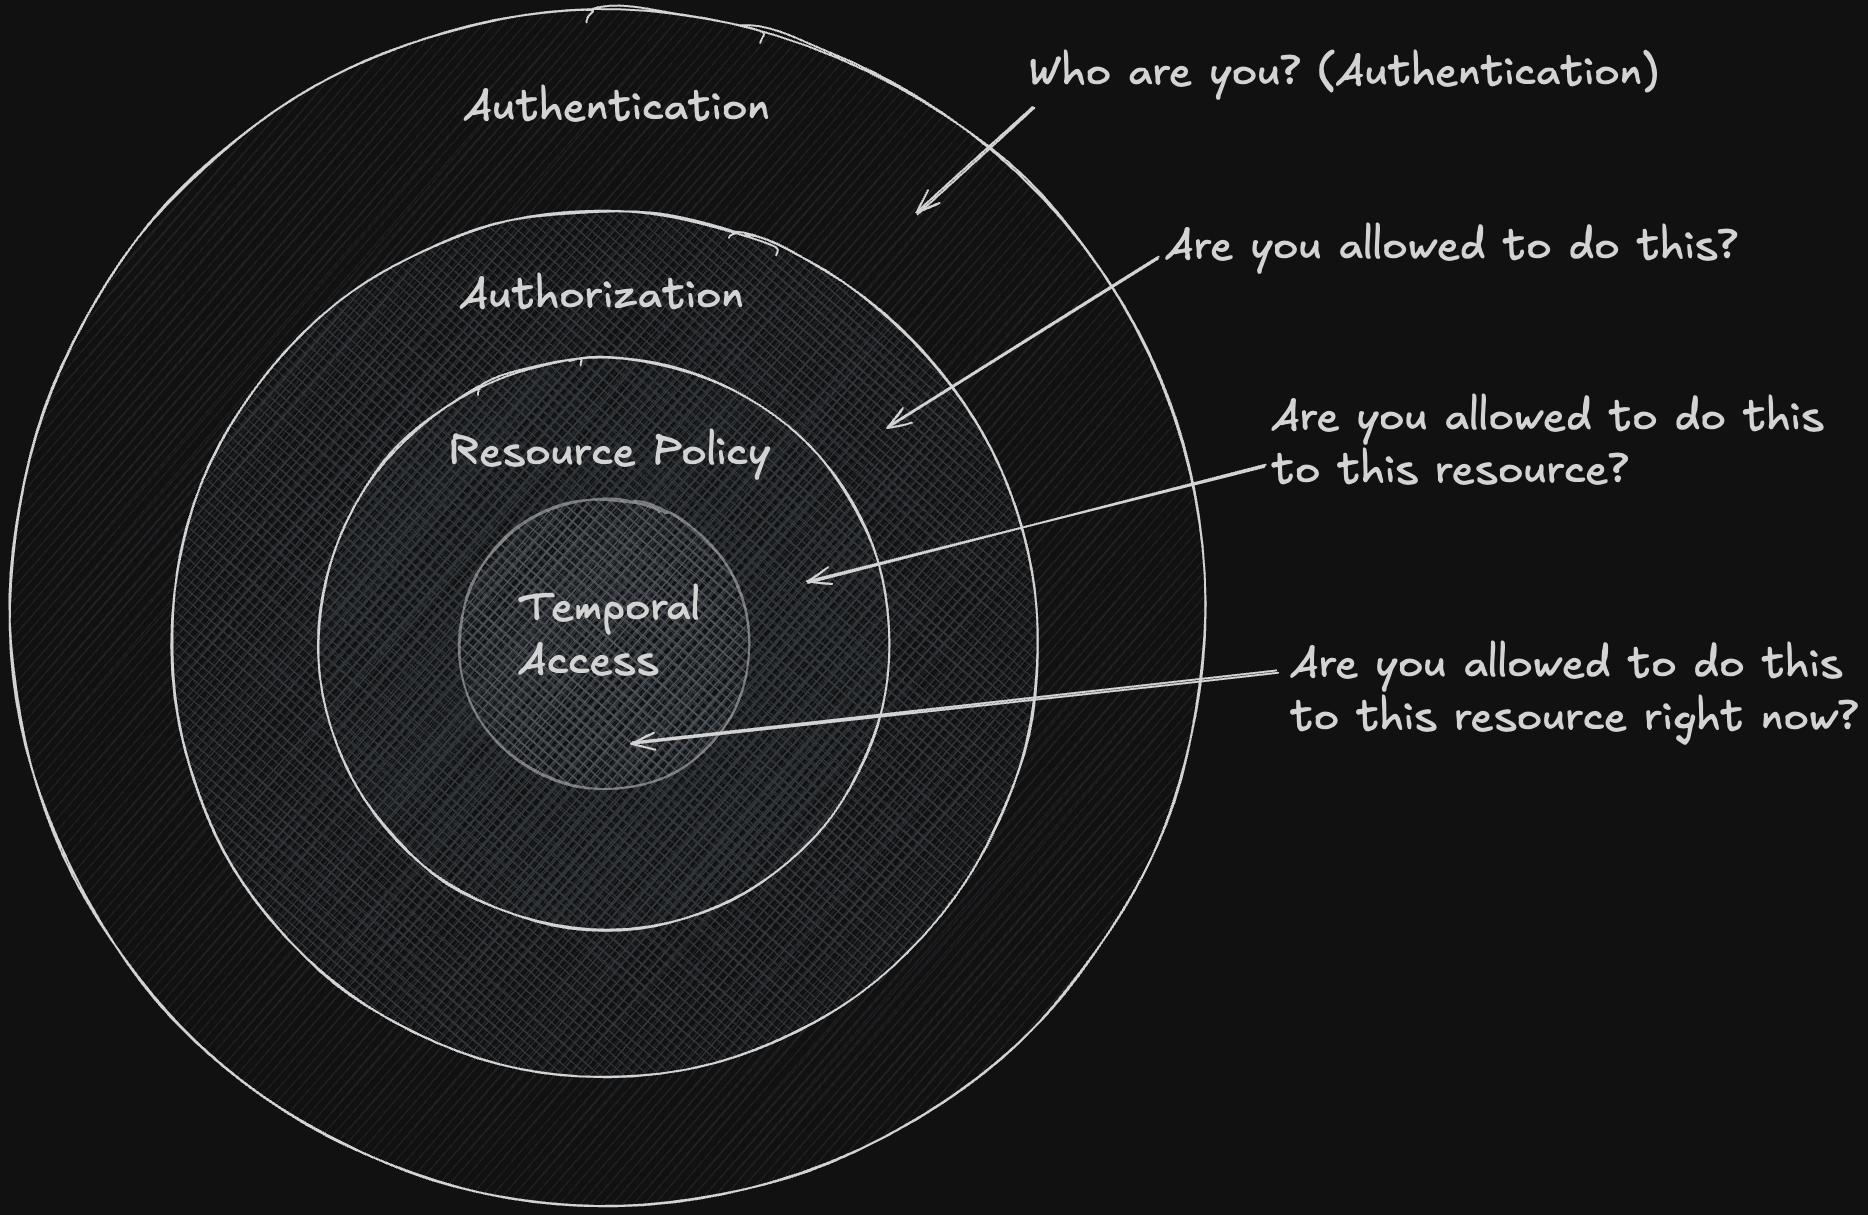
The main layers of authorization are below. These may go by different names, but the core concepts are the same. Let’s use driving a car as an analogy.
- Authentication - Who are you? (Do you have identification?)
- Authorization - Are you allowed to do this? (Is your ID a driver’s license?)
- Resource Policy - Are you allowed to do this on this resource? (Do you own this car?)
- Temporal Access - Are you allowed to do this at this time? (Can you drive this car at night?)
Authentication
Let’s start with the first stage of the authorization process, authentication. This is the process of verifying your identity. In our analogy, this is your driver’s license.

This is the process of going from a guest user, to an authenticated user.
Using the Auth Facade
The most straightfoward way to do this in Laravel is to use the Auth facade.
Auth::login($user);This will set the user’s session, and they will be authenticated using the auth middleware.
Using Laravel Sanctum
You can also authenticate in a restful way, using a token from Laravel Sanctum.
$token = $user->createToken('auth_token')->plainTextToken;Once you have a token, you can use it to authenticate requests to your API through the Authorization header using the auth:sanctum middleware.
$response = Http::withHeaders([
    'Authorization' => 'Bearer ' . $token,
])->get('https://api.example.com/user');
Socialite
You can also use Socialite to authenticate users.
$user = Socialite::driver('github')->user();This will use an external application to authenticate the user, and then return a user object.
Authorization & Resource Policy
The second stage of the authorization process is authorization. This is the process of verifying that you are allowed to do something.
Using the Gate Facade
The most straightfoward way to do this in Laravel is to use the Gate facade.
Gate::allows('update-post', function ($user, $post) {
    return $user->id === $post->user_id;
});
This will return a boolean value, indicating whether the user is allowed to update the post and is defined in the boot method of the AppServiceProvider class.
This is the most basic form of authorization, and it’s a great way to start. But, as your application grows, organization becomes more important.
Using Policies
Policies are a great way to organize your authorization logic. They allow you to group related authorization logic into a single class for a given eloquent model. They are also automatically recognized by very popular packages like Filament.
class PostPolicy
{
    public function update(User $user, Post $post)
    {
        return $user->id === $post->user_id;
    }
}
Roles and Permissions
The most robust way to handle authorization is to use roles and permissions. This allows you to define a set of permissions for a given role, and then assign roles to users. Spatie has a great package for this, called Laravel Permission, and is a personal favorite of mine.
Let’s show how this works with our PostPolicy example above, and add an aditional capability check for the update method.
class PostPolicy
{
    public function update(User $user, Post $post)
    {
        return $user->hasPermissionTo('update-post') && $user->id === $post->user_id;
    }
}
This will check if the user has the update-post permission, and that they own the post. This is a blend of both Authorization and Resource Policy. In AWS, a similar policy may be written as:
{
  "Effect": "Allow",
  "Action": ["s3:PutObject"],
  "Resource": ["arn:aws:s3:::my-bucket/*"]
}
The key is that a user must be allowed to do something, and then they must have the right to do it on a given resource. So in our car example, just because you have a driver’s license, doesn’t mean you can drive any car. You must have the right to drive this car.
Temporal Access
The final stage of the authorization process is temporal access. This is the process of verifying that you are allowed to do something at a given time.
The most common way to do this in Laravel is adding an expiration date to a Sanctum token.
$token = $user->createToken('auth_token', ['update-post'], now()->addMinutes(15))->plainTextToken;This will create a token that expires in 15 minutes, and only allows the update-post action.
For traditional web guard sessions, this can be handled by things like session lifetimes.
 Share on Bluesky

